Your first ski lesson: what to expect and how to prepare
Length, gear, first moves, sore muscles the next day: everything you need to know before a first ski lesson so you can enjoy it from the very first hour.
The Your Ski Instructor team
21 October 20263 min read
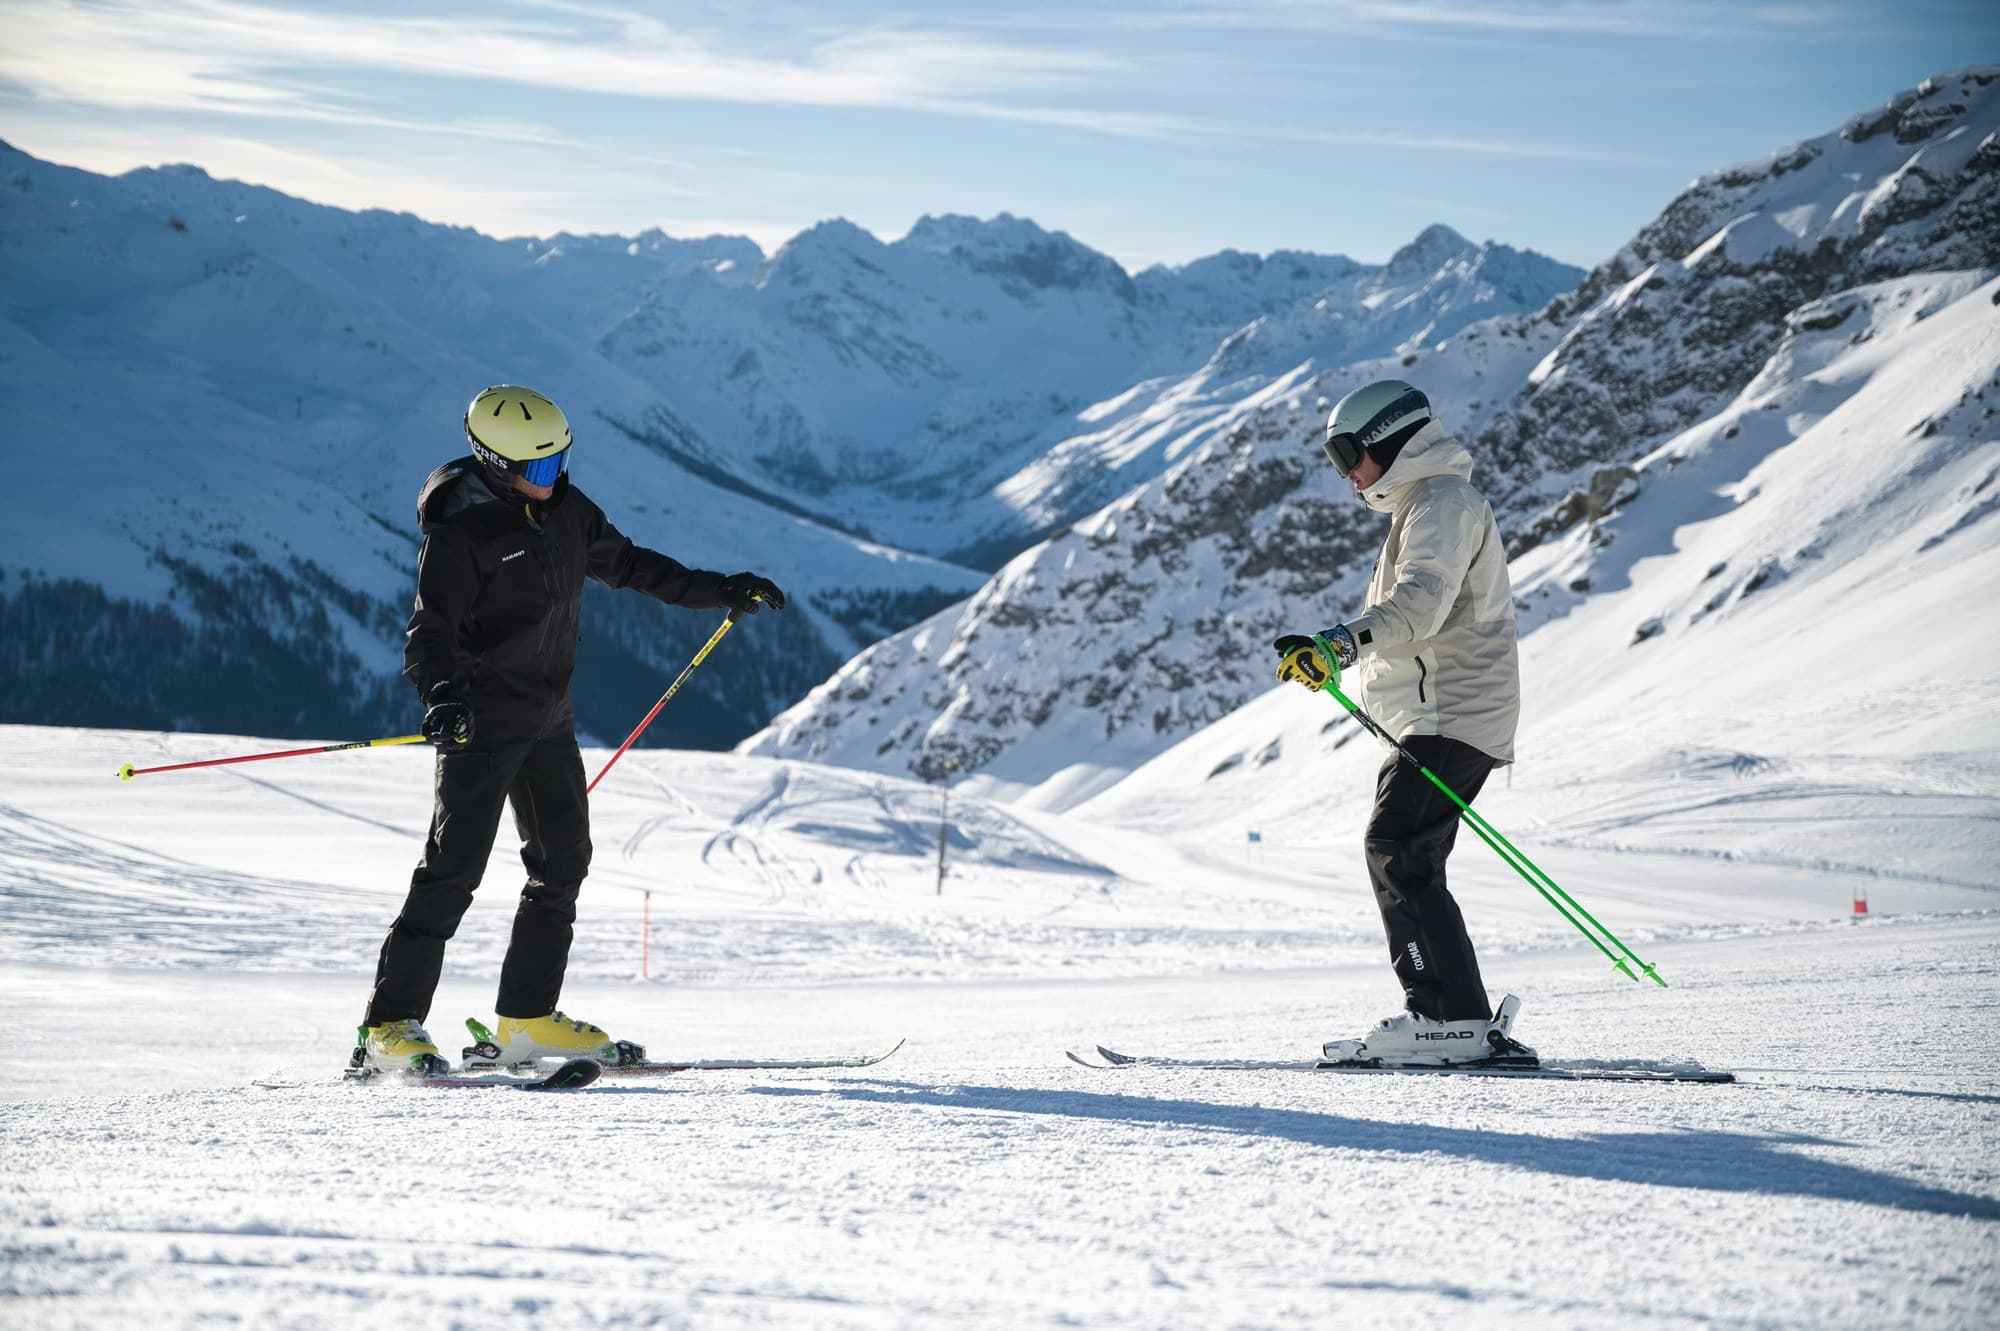
A first ski lesson is a mix of excitement and small worries: will I manage, am I properly equipped, how will the first hour go? The good news is that with a little preparation and a good instructor, most beginners enjoy themselves from the very first morning. Here is what you need to know.
Before the lesson: three things to sort out
1. Pick the right length. For a very first lesson, a 2-hour session lets you discover skiing without wearing yourself out, especially with children. A half day suits fit adults who want to progress faster. On Your Ski Instructor, each instructor offers their own durations: 2 hours, 3 hours, half day or full day.
2. Rent your gear the day before if you can. Boots are the most important item: if they hurt, everything else becomes a chore. Visit the rental shop when it's quiet, try them on, walk around in them and ask for help adjusting them. During school-holiday weeks, rental shops are packed, so plan ahead.
3. Tell your instructor. A fear of heights, an old knee injury, a shy child: the earlier the instructor knows, the better they can adapt the lesson. Use the site's messaging or the message field when you book.
What to wear
It is often cold in the morning and warm in the midday sun, so dress in layers.
- a breathable base layer next to the skin (avoid cotton, which holds moisture);
- a warm mid layer (a thin fleece);
- a waterproof, windproof jacket and trousers;
- gloves or mittens, a neck gaiter and thin ski socks (one pair only, never two);
- a helmet and goggles: a helmet is strongly recommended for everyone, and essential for children;
- high-factor sunscreen and lip balm: the glare off the snow is strong, even on a cloudy day.
How the first hour goes
Your instructor meets you at the agreed meeting point (at the foot of your residence, a chairlift or a mountain restaurant, depending on what you chose). Arrive 10 minutes early, boots already on if possible.
The session usually starts without skis or on perfectly flat ground:
- Getting your bearings: moving around with skis on, getting up after a fall, keeping your balance.
- Gliding in a straight line on a very gentle slope.
- Slowing down and stopping using the "snowplough" position (ski tips together in a V).
- Turning by shifting your weight from one ski to the other.
- Going back up: most often on a magic carpet or a small chairlift before you take a proper drag lift.
Don't worry about falling: everyone falls, and learning to fall is part of learning. A good instructor also shows you how to get back up without wasting energy.
How many lessons do you need?
It depends on the person: fitness, balance, experience of other board or snow sports, regularity. Many beginners are comfortable on a green or blue piste after a few sessions, but there is no rule. A simple tip: two or three lessons close together beat a single isolated lesson, because what you learn sticks faster when you keep going.
The next day
Expect sore thighs and glutes: that's normal. Drink plenty of water, stretch gently in the evening and eat properly. If you ski several days in a row, alternate lessons and rest.
Key takeaways
- Rent comfortable boots and try them on beforehand.
- Dress in layers and protect yourself from the sun.
- Arrive early and tell your instructor what worries you.
- Aim for regularity rather than performance.
Ready to start? Find a qualified independent instructor in the resort of your choice, read their reviews and book in a few clicks. Hesitating between formats? Our article on private or group lessons will help you decide.